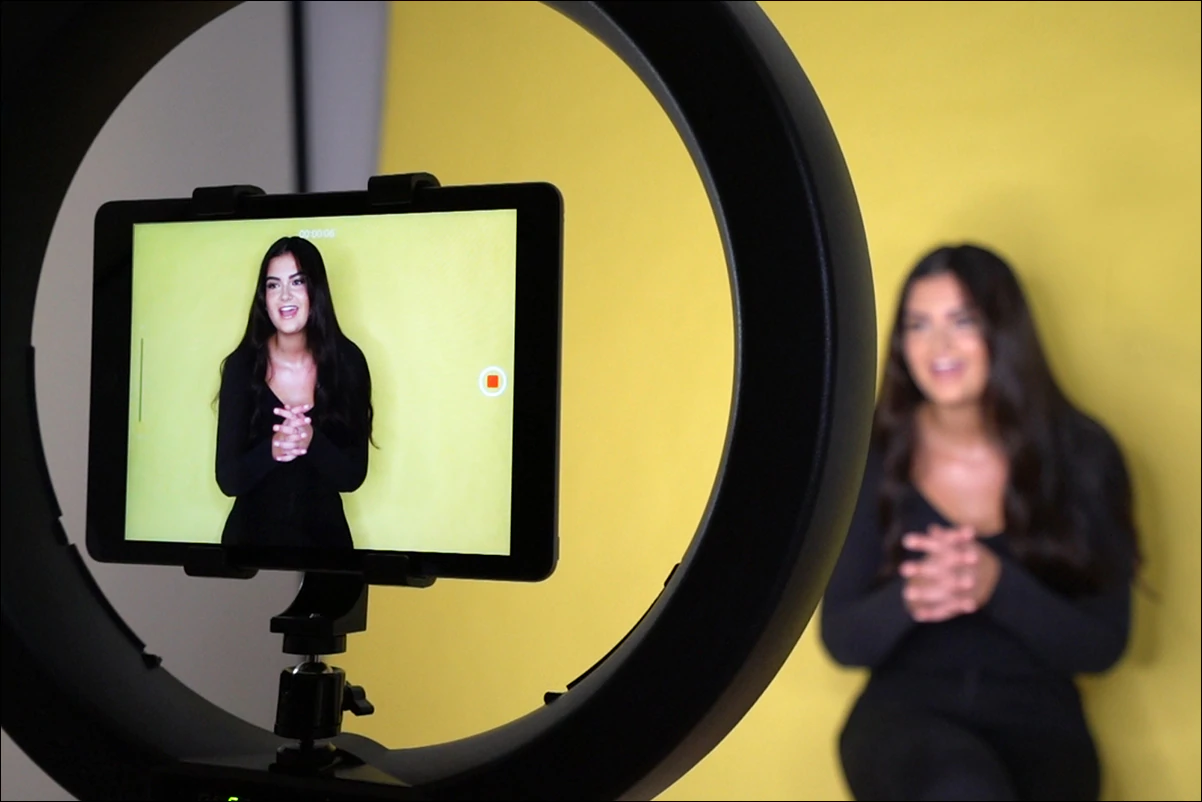
Video lighting is very important nowadays, because it allows you to make amazing, high-quality shots. In the twenty-first century, everything is about perfect aesthetics. There seems to be no more room for low-resolution videos that don’t have optimal lighting. If you want to raise your filming game to a higher level, we suggest that you choose a good video light that will provide you with all the desired benefits. Of course, if you want full effect, it is important to pay attention to the way you set up your video light. In order to help you with this we share with you some of the most common mistakes to avoid when setting up video light. Let’s go!
1. Making shadows
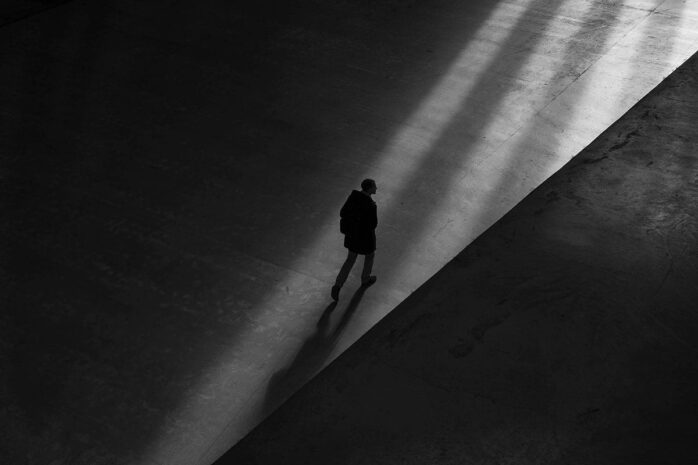
One of the main mistakes that people make when using video camera light is not to put it in good places, so it creates shadows. This is one of the amateur mistakes you need to ensure you never make. A video in which shadows fall over an object is unlikely to achieve the desired effect. To avoid this, we suggest that you consider a multi-point lighting system. For example, you can set the video light to three points, so you have key light, fill light and back light. For an even better effect, you can also insert video light that is directed towards the background.
The main goal in lighting a scene is that the lighting in the foreground and the background of each shot would be exactly the same. Still, this is hard to achieve, but that doesn’t mean you shouldn’t try. Placing lights on the right spots will ensure that there are no shadows and that the final result is a video with great brightness that looks highly professional and effectively conveys the message to the audience.
2. Video lights too close to the face
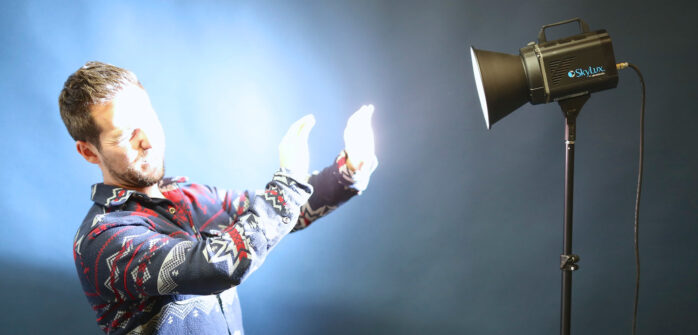
When choosing where to place the LED video light it is important to ensure that it is not too close to the face of the person being filmed. This is a mistake for several reasons. First, the video will look very strange, because the lighting will not be natural. Secondly, it won’t be at all flattering for the face, and also the person will probably feel very uncomfortable with the video light pointed directly at her face. All in all, the final result will not be satisfactory and the whole video will be off.
We suggest that you always find a distance that is flattering enough for the face and pleasing to the person being filmed, and also achieves the desired effect in terms of lighting. If you do not have enough space, we suggest using filters or diffusers that can reduce the light intensity. If this is not an option you can also play with the ceiling and walls and test whether you can reflect the light so that in the end the lighting is adequate. Try a few different things and decide what works best for you.
Looking for the best video light for your needs? We have a solution for you. COLBOR offers LED video light for studio and home recording. Check out their offer and find the light that suits you the best.
3. Placing video light opposite the window
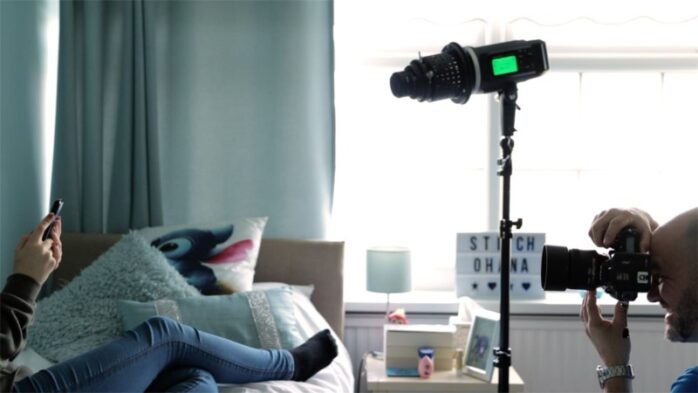
A large number of people who have not yet learned the basics of optimal video light installation choose to set it up in front of a window. While this may sound sensible to some extent it does create additional problems and challenges. Yes, there may be a forest or a beach in the background, so it seems like it would be nice to find it in the background of the video. However, for video light this is definitely not the best background.
Placing video light opposite the window can only make sense if the backlight is fully compensated by the foreground light, so that no shadows are created and the backlight is not dominant. However, this is really difficult to achieve in practice, so we suggest you avoid it.
Instead of placing an object in front of a window, place it opposite the window, and then direct the light at the object. This way you will get great lighting from the front and there will be no backlighting that you have to compensate for. Win-win.
4. Doing things by feeling, instead of educating yourself
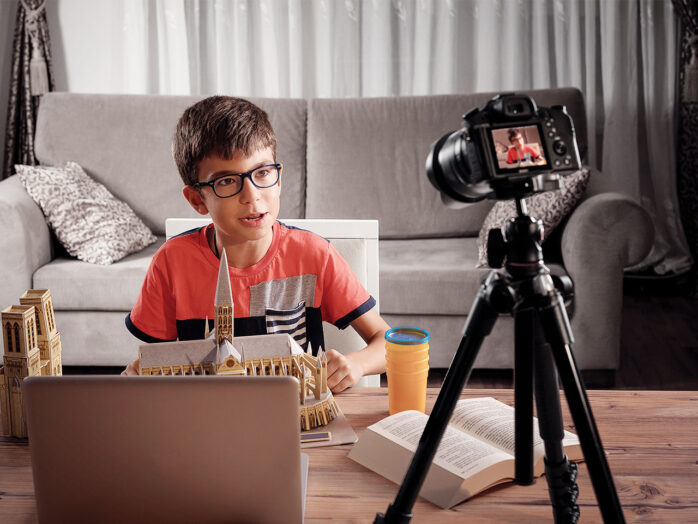
Nowadays, more and more people choose to create video content and try to adjust the lighting and all other important parameters themselves. And there’s nothing wrong with this, if you really know what you’re doing. Problems arise when you do not have enough knowledge in this area that is not at all simple. Although it may seem that nowadays everyone can be an expert in video conference lighting the truth is different. It is very easy to make big mistakes if you rely only on your gut feeling. If you do not have enough knowledge and skills in this field and do not know what you are doing, you significantly increase the risk that the final video will be of poor quality and will not achieve the desired results.
That is why we suggest you educate yourself on time and don’t start with setting up led light for video until you’re sure you know the basics. Once you understand the basics of this area then you can continue to upgrade it and improve the look and quality of your videos, which will definitely be noticed by your audience and they will know how to appreciate it.
Conclusion
Setting up a video light may sound like a piece of cake, but once you start playing with this you will probably realize that it is much more complex than you thought. In order to create high quality video content that looks professional we suggest you avoid common mistakes. Make sure no shadows are visible in the video and don’t place the video light too close to your face if you want the lighting to look natural. Place a video light in front of the window instead of opposite it. And finally, educate yourself in time and learn the basics in this area. Once you have laid a stable foundation you will be able to constantly upgrade your content and make the lighting look better and better.


