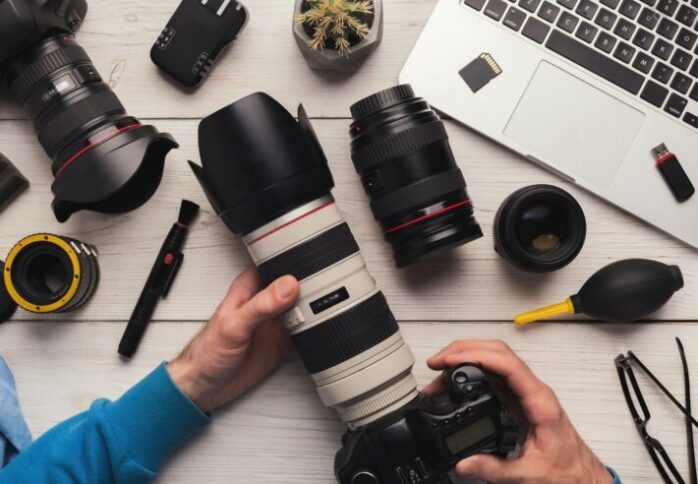
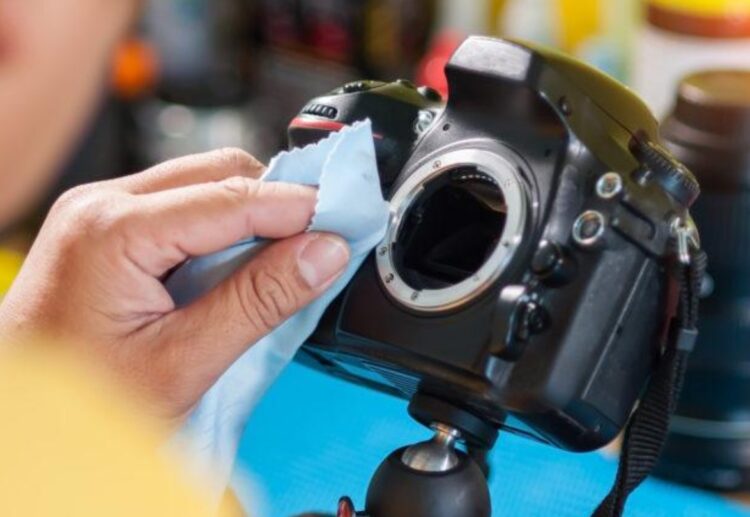
Whether Canon or Nikon: Dirt on the sensor can be a problem for every DSLR or system camera, our instructions for sensor cleaning explain how you can remove dust, oil and the like from your DSLR camera.
Back from the photo tour, the SD card of the DSLR is inserted into the PC. Fantastic shots, the overview display gives great pleasure and then? The 100% display on the monitor shows it mercilessly: There are small, round black spots in all the pictures. These stains weren’t there at the last photo session.
It is no problem to conjure up a few small troublemakers by retouching images with the stamp. However, dirt on the sensor becomes a problem when it comes to a large number of images. And it gets really annoying when these spots still have unfavorable shapes and are in difficult image areas.
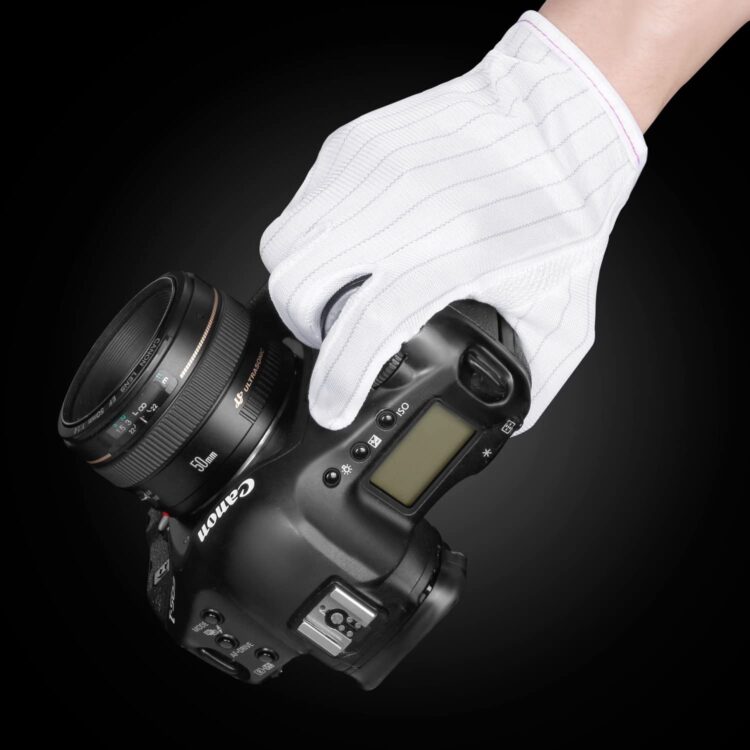
Dirty sensors and optics
A dirty camera sensor has much worse consequences for a DSLR or mirrorless system camera than a dirty front or rear lens on the lens. The light-sensitive sensor surface (or low-pass filter surface) lies in the focal plane. Every particle that sticks here is shown in the picture. How visible they become depends on the type of dirt, the position, and the set aperture.
Soiling camera sensors occur both with closed compact cameras and – much more so – with cameras with interchangeable lenses. In principle, every sensor in a camera with interchangeable lenses will collect dirt over the long term.
Test the sensor for soiling yourself
If you want to know what the surface of the camera sensor looks like, you can make it visible with simple recordings. The best motif is a bright, clear sky. Light-colored surfaces with as little structure as possible are also well suited.
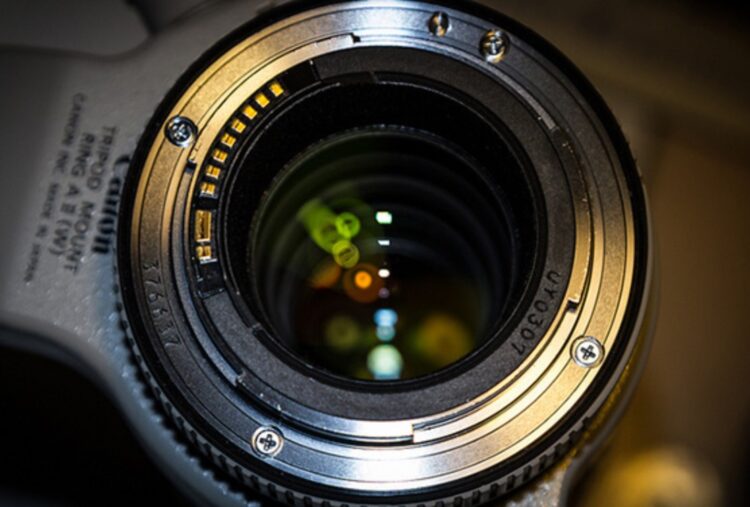
Proceed as follows:
- Set the camera to manual mode
- choose the smallest possible aperture
- Select the exposure time so that the subject is reproduced brighter (slight overexposure)
- Distance to infinity
- admission
These test recordings are checked on the monitor at 100% display size. If the soiling of the sensor is to be more clearly visible, this can be achieved by using a total value spread or a temporary conversion to black and white. It’s not just dust or lint – everything that flies through the air can also be deposited on a camera sensor. For example, sticky pollen and pollen of all kinds. In addition, there are production residues, abrasion on the closure, or other moving parts, i.e., built-in dirt. And last but not least, the stain from condensation residues and small oil splashes.
Self-cleaning camera
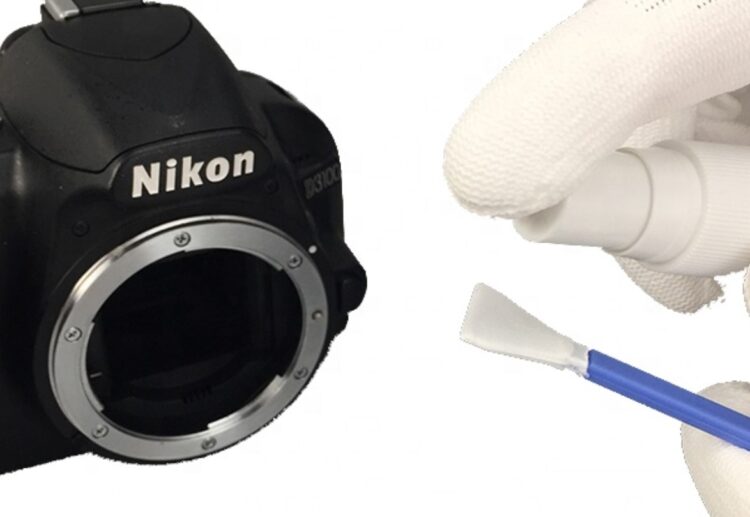
The easiest way of removing dust from the sensor is the automatic cleaning system inside the camera. Many cameras offer this technology which, to put it simply, shakes the dust off the sensor. Other automatisms use software to offset malfunctions on the sensor surface using reference images.
However, shaking no longer helps with condensation residues and other drop-like structures. This type of sensor contamination can only be dealt with by hand with cameras with interchangeable lenses. The accessories industry provides us with all kinds of aids for this purpose. In our opinion, a useful basic set of equipment for sensor cleaning consists of:
A magnifying glass with LED lighting
- Cleaning fluid
- Wooden or plastic spatulas
- lint-free paper tissues
- Mini suction cups
Every kind of sensor cleaning must be done with the utmost caution; too much eagerness to clean does not pay off here. If you don’t feel like fiddling around with the camera, you should stop by when large photoshops and photo dealers organize in-house exhibitions or trade fairs. The camera manufacturers sometimes offer a free service in which an experienced technician checks the camera and, if requested, cleans the sensor.
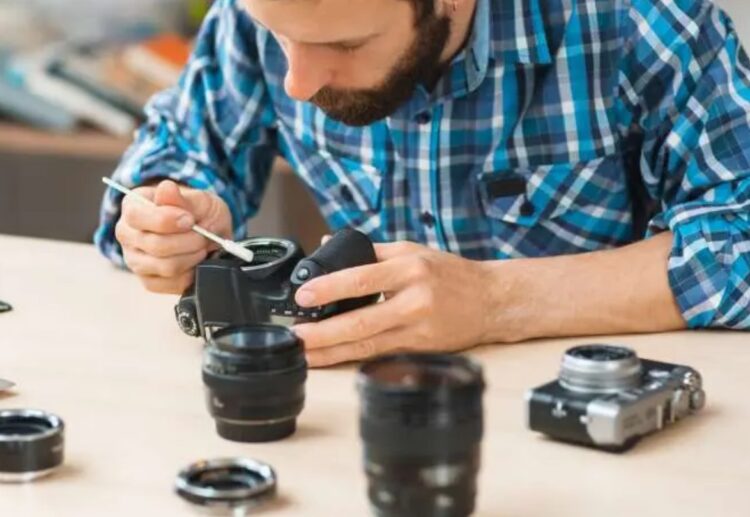
Clean the sensor yourself
The work is done in an absolutely minimalist way, so you should approach it yourself if necessary. With the DSLR, the mirror is folded up and fixed in the upper position. Check the battery level beforehand or connect the camera to the mains. If the battery is running low, it quickly folds down the mirror, and that could be fatal in this case.
The camera lens is removed, and an LED magnifying glass is placed on the plane surface instead. Then the sensor surface is inspected to see where and how something is dirty. A piece of lint-free paper is wrapped around a thin wooden spatula, dipped lightly in the liquid, and moistened. Then the magnifying glass is removed from the camera, and the sensor surface is evenly cleaned with the wooden spatula and the moistened paper.
Finally, another check with the magnifying glass and possibly rework. Put on the lens and be good. Photo dealers and workshops offer such cleaning at prices between 30 and 70 euros. Corresponding cleaning sets are available in online shops for around 10-30 euros, depending on the sensor size. For more information about DSLR cameras and DSLR camera prices, visit BNW Collections.
With a compact camera, you don’t need to ponder over your own attempts – nothing works. Special knowledge and a lot of special tools are required here to even get to the sensor. It is advisable to contact the manufacturer. Soiling of the sensor cannot be completely prevented, but it can at least be reduced. So you shouldn’t leave the camera without a lens or camera housing cover and always keep the bayonet connection meticulously dust-free. You should also get used to changing lenses quickly and in a protected place.
In the winter season, the change from cold to warm can result in condensation on the cold sensor surface. Professionals get around the problem by packing the camera in a lockable freezer bag (zip lock) and waiting for it to acclimate. This takes time, but it is the safest way to avoid condensation. Under no circumstances should you remove the lens after returning to the warm with the cooled-down camera.


