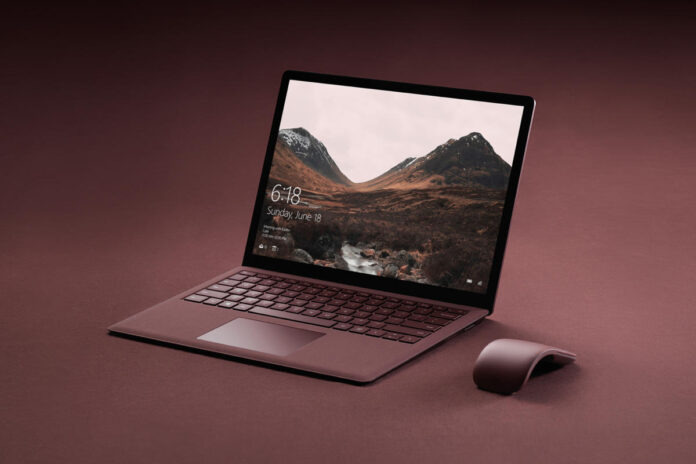
Our laptops are very personal items to us and are something that many of us use day in, day out for hours at a time. Because of this, it is only fair that we have the option to customize our user experience. Thankfully, Windows offers a whole bunch of features that means users can do just that – you just have to know where to find them and how to use them.
This piece will show you exactly how to do that! Some of them might even surprise you.
Change Your Theme
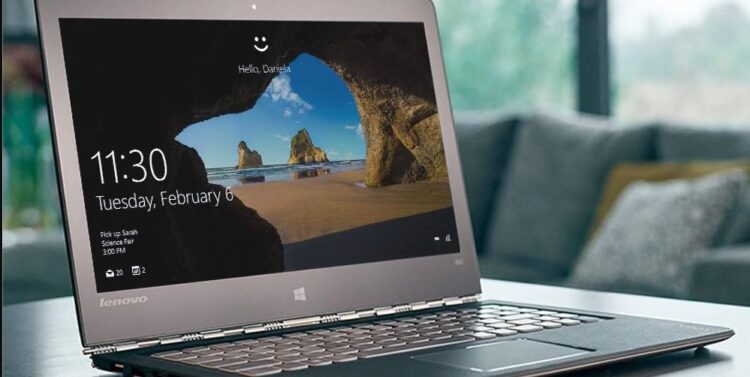
If you are well acquainted with Windows, you will know that their signature theme is blue-based, which comes as a staple with all laptops. However, if this is not your jam, you can change your theme to something that suits your personality and mood much better.
This can include how apps and fonts look, and almost everything can be changed right down to your mouse cursor colour!
Windows laptops do now come with a variety of stunning landscapes and images to use as your lock screen and background, but if you are fed up with staring at somewhere you can’t be right now, then why not opt for a picture of something else you can’t see instead? Like your family or your favourite band? You can change it to anything your heart desires.
To change your theme, simply click on the Start menu and select Settings. On the settings bar, you will find an icon called “Personalization“ with an icon of a paintbrush over a computer screen, a fitting image for this. In this, you will uncover a list of all the areas that you can change on your laptop, from the background to the colours you use. Head down to “Themes” and choose from the selection of Mythemes and Windows Default Themes and start personalising your laptop.
Go Dark
Windows 10 gives its users the option to now enjoy “dark mode” on their laptop, essentially where all the traditional backgrounds are turned dark. This is mostly a personal preference, though some might find that one of the benefits of dark mode is that it helps lessen eye strain by having a dimmer interface. It also makes you feel like you are in a spy movie.
This couldn’t be simpler to do; on the same menu as before on settings, head to “Personalization,” and this time click on their option “Colors.” Here you will find a tick button option that allows you to select dark mode.
Create a Virtual Desktop
If you, like everybody else, can’t help but drift off to the personal side of your laptop when you are desperately trying to keep doing your work, then here is a cool tip.
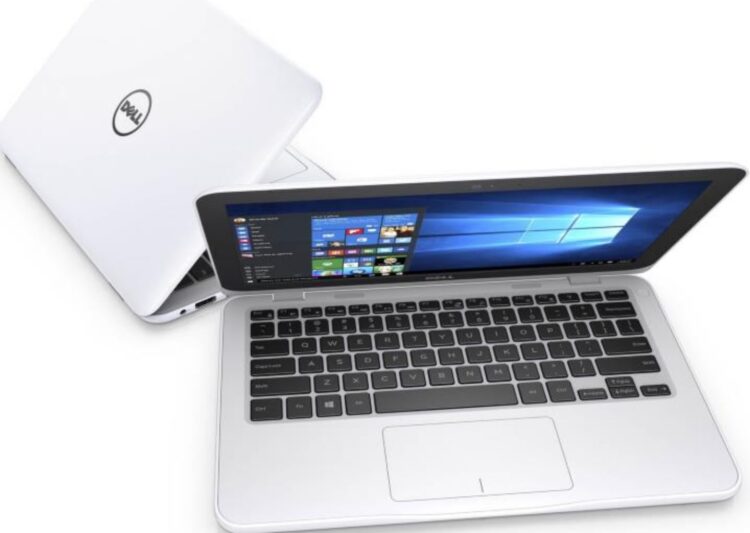
You can create a virtual desktop by simply pressing the Windows key and Tab. This will bring up all of your current running windows, and in the top left-hand corner of your screen on a lenovo, you will find the option to create a new desktop, which will allow you to flip between, work, play, and whatever else you would need a separate desktop for.
Sort Out Your Display
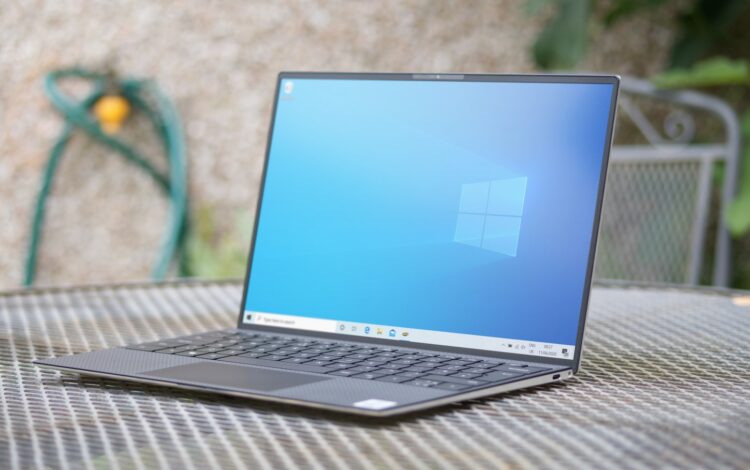
Your display can also be personalised to give you a much more comfortable user experience. An example of what you could do includes changing the size of the apps, text, and other items on your screen, which can be found in the advanced display settings under System. You can also adjust your text resolution, which is brilliant for those who struggle to read off a screen or have mild short-sighted myopia. Do not feel afraid to play around with the effects, as many Windows laptops will show you a preview of what you are changing before you commit to the change. You can always change any of these preferences back if you want to.
If you ever feel frustrated by the taskbar and its location, the good news is that you can change this too. Move it to the top of the screen or to the side to make using your laptop a breeze.
View Your Pictures Throughout the Day Easily
We’ve all been there; when the day has been busy and tiring, and we want nothing more than to finish up what we are doing and spend some time with our loved ones. Well, thanks to this handy personalisation option on Windows 10, you can feel as though your loved ones are with you during the working day by displaying their pictures on your desktop. If you right-click on the desktop screen and click “Personalize,” or head to settings and select “Personalization,” and head to the option “Background,” you can choose a still image from your photo album.
If you can’t choose between your pictures, you could try your hand at making a collage. However, this is a lot of work, so why not let Windows 10 do the work for you by selecting the option Slideshow? Place as many photos as you want into a folder and browse your PC for this and select your album. The great thing is that you can set the length of time between each picture, whether you want it on shuffle and if you still want this to display when your battery is running low, so you can really make this your own. You can then enjoy seeing wonderful memories throughout the working day.
Change Your Start Menu
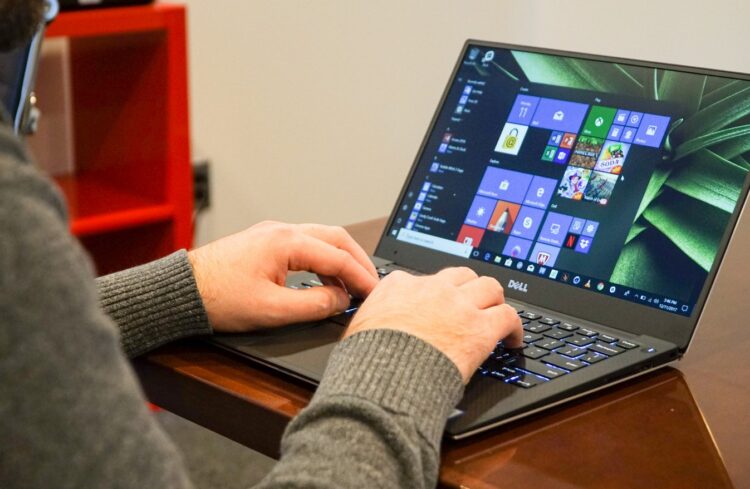
We need everything to be much faster in this day and age, including the length of time it takes to find an app and open it during the working day. This is why this option of personalisation is so great. If you don’t like the options the start menu offers, you can easily change this to suit you, whether this is to make starting work easier. Simply right-click and unpin an app or a folder you don’t want from the menu. Then choose the folders you want to be displayed, such as programmes, apps, music, and more. You can do this in Settings. Slide across the digital switch to turn it orange, and this folder will display on your startup menu.


