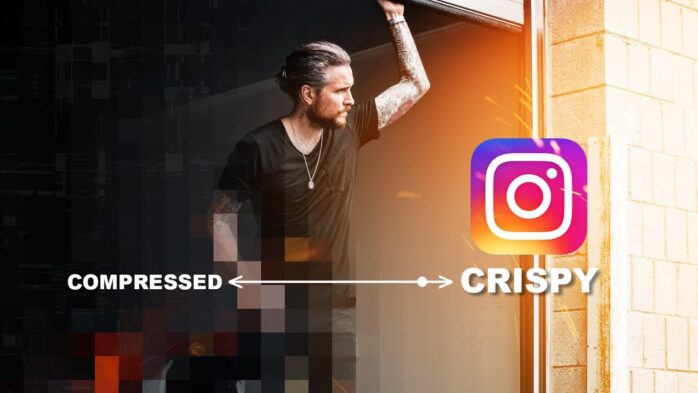
You must have noticed that photos that look sharp and crisp on your computer or phone turn very blurry when uploaded on Instagram. Blurry and faded Instagram photos ruin the aesthetics of the profile. This happens because Instagram compresses photos that are to be uploaded to save storage space. While this is a sensible move from the business perspective, it makes Instagram photos look very ugly.
The good news is that there are multiple ways in which you can make your Instagram photos sharper and crisper and hence enhance the aesthetics of your Instagram page.
Resize Your Photos
One of the easiest ways to make your Instagram photos look sharp is to resize them according to the requirement of the platform. Here are some formats that one has to keep in mind before uploading:
- Instagram stories: 16:9
- Post on the feed: 4:5
- Square posts on the feed or profile picture upload: 1:1
- Landscape post on the feed: 1:9:1
There are many free applications that you can use to resize the images. All you have to do is download any free application to resize the image. If you are also looking for one such amazing tool that can make your Instagram photos look sharp and crisp, check out here.
Photos taken using a DSLR camera, for instance, will almost definitely be of greater quality than what is allowed on Instagram, so you’ll need to scale them in an image editor before posting.
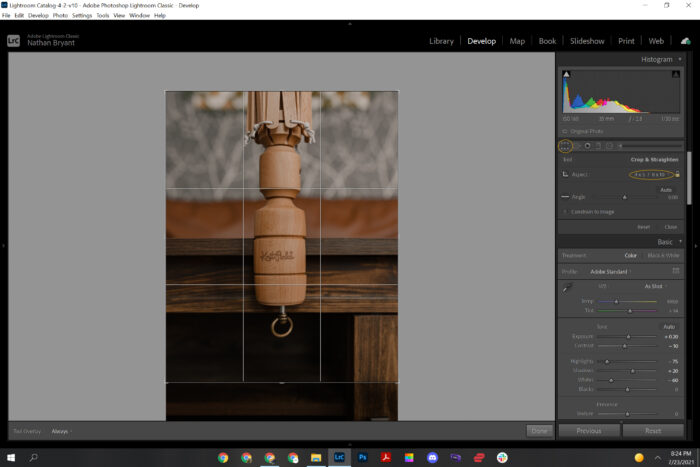
The maximum resolution that your exported photographs can have is controlled by an option in an app called Lightroom. Portraits look best when resized to 1080 pixels on the short edge using the “Resize to fit” option. Select “Resize to fit: Long Edge” and resize the image to 1080 pixels in width for landscape photos.
Make Changes In Lightroom Export Setting
Your work is not yet done, after changing the size of the image there are still a couple of steps that you have to take to make sure that you limit the compression. In case you are using any editing application such as Adobe Lightroom you can change your export setting to make up for any changes that would happen when uploading the image on Instagram.
Always make sure that your images are in JPEG format and that it is in the maximum quality available.
This step is very important if you want every detail of the image to be visible. You can also change the dimensions of the image to make it look crispier.
Sharpness Of Outline And Shading
A picture might be overexposed or underexposed. Several things, such as the camera’s settings and the ambient illumination, can contribute to this. The image’s brightness and contrast must be adjusted to counteract this.
Brightness
The brightness slider allows you to change the brightness of light and darkness in the image.
Nonetheless, if the image is extremely black, boosting the brightness can result in a great deal of graininess. This occurs because increasing the brightness also increases any grains present in the image.
Contrast
Modifying the contrast of an image means emphasizing the difference between its light and dark regions. To put it another way, you’re emphasizing the contrast between dark and light areas.
Variations In Color Corrections
When editing an image, you can use a variety of tools to play with the hues and saturation.
The vibrance setting allows you to selectively increase saturation in low-contrast regions of an image without altering the saturation of brighter regions. This helps in avoiding an artificial appearance of color.
By adjusting the “Temperature” slider, you can change how warm or chilly the colors in the image are. Hotter temperatures will appear more red or orange, while cooler temperatures will appear more blue.
Numerous apps, like Instagram, include predefined combinations of color modifications that can be swiftly applied to produce intriguing effects. Such filters can simulate the look of an old camera in your images.
Minimize The Photo Transfer Steps
Now that you have reduced the size of the image and have changed the lightroom setting now what you have to do is minimize the photo transfer steps. With every transfer of the photograph there is a risk of compressing it further. Therefore you have to reduce the number of times you transfer the photos from one platform to another.
Just avoid sending photos via messaging applications like Instagram messages as it reduces the quality of the image. Uploading the photo from Google Drive also affects the quality of the image. When the photo is transferred to these apps, its quality is compromised heavily. However, you can use apps like Nearby share to transfer the photos from one device to another

Adjustment Tools
Many applications have an automatic adjustment tool that you can use if you don’t know what kind of changes to make or if you just want a quick way to make your photos look better. This feature will look at the picture and make changes to try to make it look better. In tools like in Pixlr X, click Adjust, then the Auto Fix button to find this feature..
Most of the time, these tools make an image look better as a whole. But you can always change an image manually after using it. You can start by using an automatic adjustment tool and then make smaller changes until the image looks exactly how you want it to.
Depending on the type of image you’re editing, you may be required to make additional adjustments. For instance, many picture editing apps feature a red eye-removal function.
Enhance The Look Of Your Instagram Photos
Whether you’re a professional photographer or just want to share some of life’s more memorable moments with your friends, Instagram is one of the finest places to do so. Share higher-quality images by minimizing the effects of compression, changing the brightness and following the steps as mentioned above.


