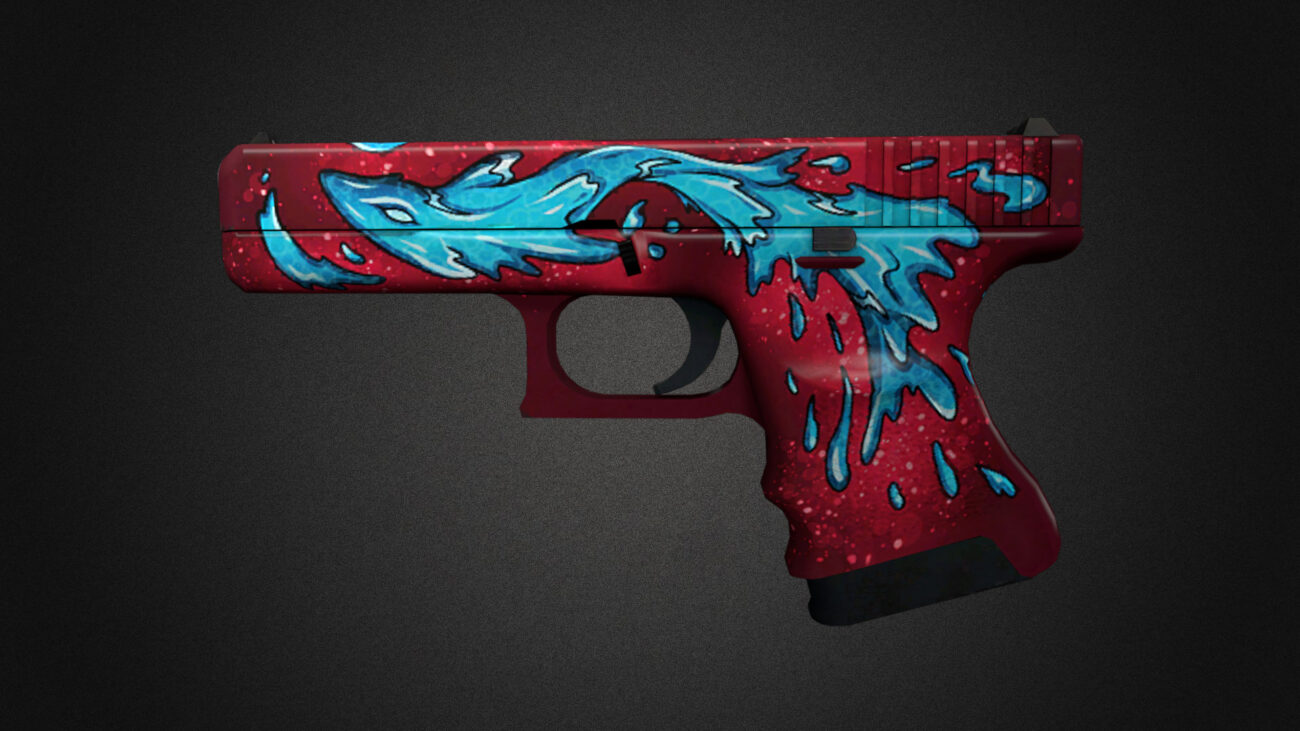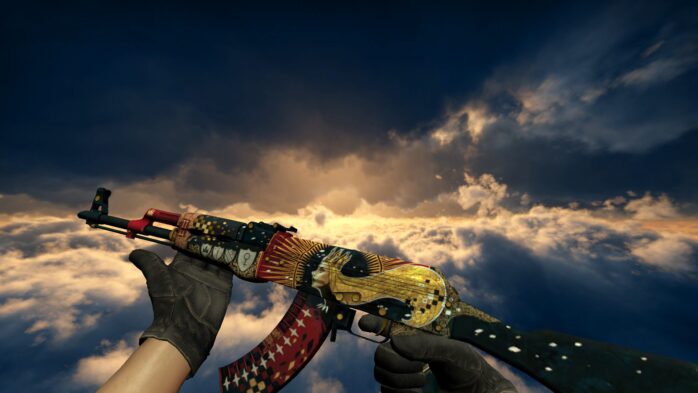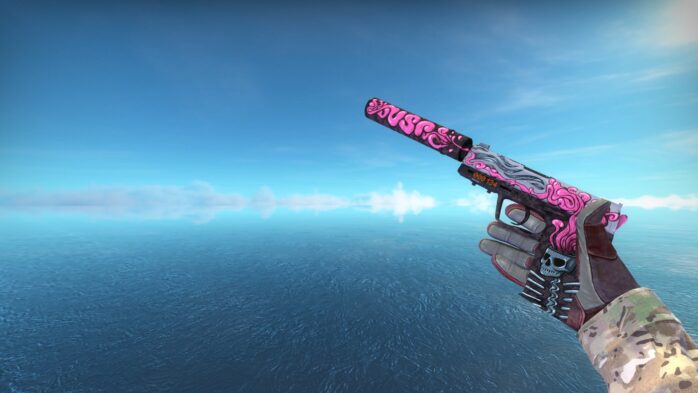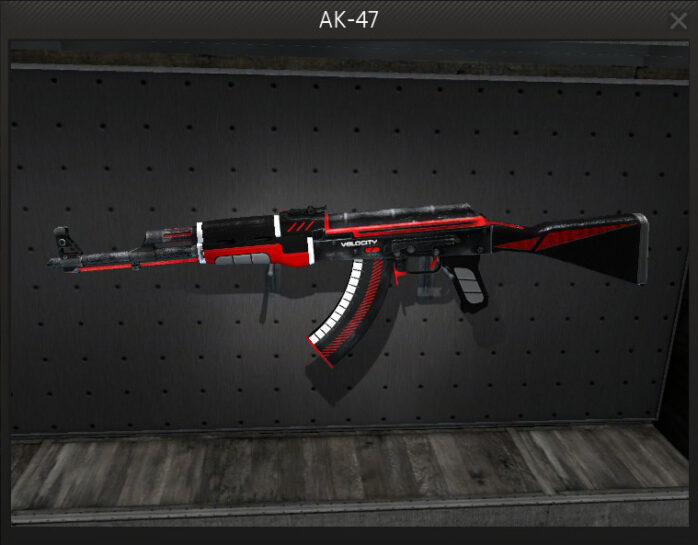
Creating weapon skins for Counter-Strike: Global Offensive is not as difficult as it seems. You don’t have to be a graphic designer or an animator to do it – all it takes is some effort and creativity!
In this article, we’ll guide you through the technical steps necessary for making (and possibly launching) your first CSGO weapon skin – keep on reading if you’re interested in learning more.
Without any further ado, let’s get right to the bottom of it!
1. Get the right files

The first thing you’ll need in order to create a custom weapon skin for CSGO is, well, the weapon files! You can find and download these from the Steam workshop quite easily. The folder will contain two filetypes: obj and tga – the first one is the 3D model of the weapon and the latter is its texture.
Again, we advise against trying to download these files from websites that are not related to Steam. There are too many things that could go wrong, which is simply not worth the trouble. If you, for any reason, need to get the weapon files from somewhere else, make sure it’s a reputable store/website such as CSGOSKINS.GG, for example.
Once you’ve downloaded the relevant files, it’s time to start working on your design. We’ll cover that part in the next paragraphs.
2. Starting the texture
The simplest way to start creating your custom-made weapon skin in CSGO is through the tga file. You’ll click on Edit Texture in obj, which will allow you to update the texture in real-time. The UV sheet you’ll get can be a bit confusing the first time you’ve seen it, but you’ll figure it out through some trial and error pretty quickly.
Keep in mind that the pieces of the weapon will be outlined in green, and every weapon plane will be shown in white instead. Even though this might confuse you the first time you see it, if you work with an updating obj file, you’ll quickly get the hang of it.
3. If you get confused, video tutorials are the best way to go about it

Even though there’s nothing inherently complex in creating your own Counter-Strike: Global Offensive weapons, it can seem a bit difficult for a complete beginner. In those cases, the best thing you can do is watch a video tutorial. You can find many useful ones on websites such as YouTube. Once you see how it’s done, it will turn into a piece of cake for you!
Now, again, as long as you try experimenting and playing around with the files, you’ll quickly learn how it’s done on your own. You can always re-download the files and start over if something goes wrong, so there’s no need to worry!
Overall, if you’re unable to complete any of the steps mentioned in this article, or if something was left unclear to you even after you’ve read our guide, do not hesitate to look for answers on YouTube and other similar websites.
4. Creating the texture
Now, this has to be the most fun part of creating CSGO weapon skins! The process is quite straightforward – you’ll be filling the various sections of the weapon with colors and patterns you’ve chosen beforehand. It’s where you’ll be able to get creative and experiment with your ideas until you’ve got something you’ll be proud to show off to your friends! Make sure to save it as a tga file though.
Overall, creating the weapon texture is extremely simple – the process is the same as filling a coloring book. We recommend that you get as creative as possible – don’t be afraid to look for inspiration online. The cooler the weapon ends up looking, the higher your chances of getting it into the actual game.
As we’ve already mentioned before, you don’t have to be a graphic designer to do this, but some level of skill (and effort) is still required of you, especially if you’d like to sell your design in the future.
5. Keep an eye on the live model

Always keep an eye on the live model while you’re designing your skin. It’s the only way you can ensure everything is in order, especially if you’ve been putting elaborate patterns or text onto the weapon. There’s nothing more frustrating than having to redo your entire design later on just because you’ve made a simple mistake.
All in all, the live model is there for a good reason, so do not ignore it.
6. Import the tga file to VTF
After you’ve finalized your design, all that’s left is to import the tga file to VtfEdit, where it can be saved in a VTF format. From there on, you’ll need to create a text file that will contain the path to your VTF. You can find the file format in the Steam Workshop, so don’t worry too much about it.
After all of this is done, congratulations! You can now upload your design onto the Steam Workshop, and test the bad boy yourself. If you feel like you’re satisfied with how it all turned out, do not hesitate to submit it.
7. You can try to sell your skin

If you’re confident in your design, perhaps you should try to sell your skin. It’s something many players do as a side hustle, and it can be quite rewarding at times.
You can find many useful tutorials and guides on how to start selling your CSGO skins, so don’t forget to do your research while you’re at it.
The bottom line
All in all, creating and selling your own CSGO skins is not rocket science – it’s something anyone can do with some time and effort. Here we’ve tried to explain the process in some more detail to help you start your skin-designing journey as quickly as possible.
We hope you’ve found it useful, and we wish you the best of luck in all of your future Counter-Strike games.


