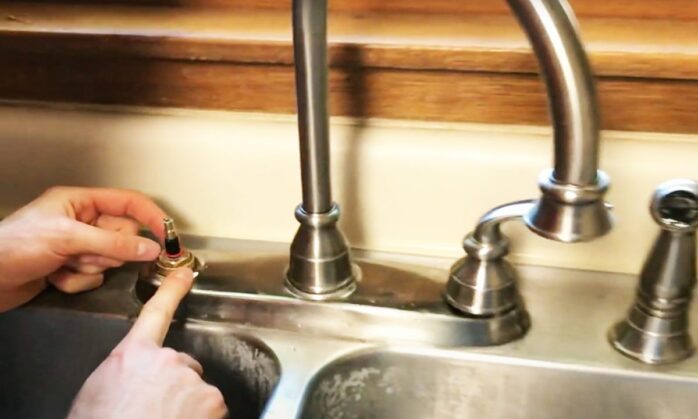
Dealing with a leaky kitchen faucet can be a persistent annoyance, not to mention the unnecessary water waste and potential damage it can cause. This issue, however, is often easily fixable with the right approach. In this comprehensive guide, we’ll explore step-by-step solutions to fix a leaky kitchen faucet.
Whether you’re a DIY enthusiast or someone who’s never picked up a wrench, these practical, easy-to-follow instructions will empower you to resolve this common household issue efficiently, ensuring a serene, drip-free kitchen environment.
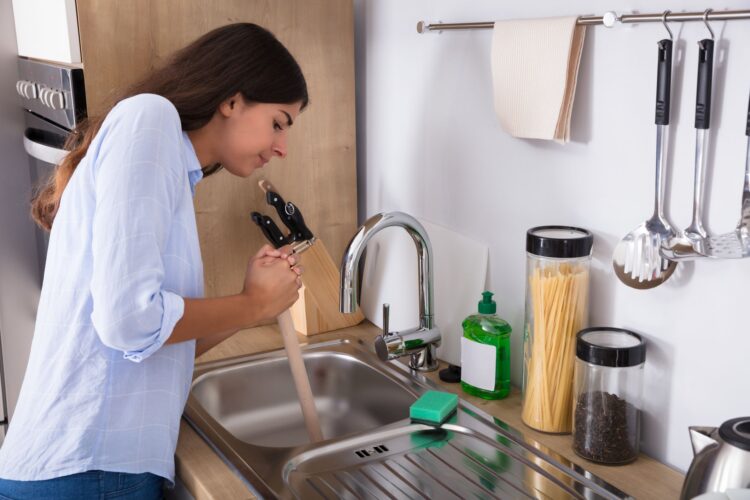
Identifying the Type of Faucet
The initial step in fixing a leaky faucet is identifying its type. There are four primary types of faucets: compression, ball, cartridge, and ceramic disk. Compression faucets, typically found in older homes, feature separate handles for hot and cold water. Ball faucets have a single handle moving over a spherical cap. Cartridge faucets, which can have either one or two handles, are known for their versatility and durability.
Lastly, ceramic disk faucets represent the latest in faucet technology, with a single handle over a cylindrical body. Understanding the type of faucet you have is crucial, as each requires a slightly different approach to repair.
Tools and Materials Needed
Before embarking on your repair journey, it’s essential to gather all necessary tools and materials. Commonly needed items include an adjustable wrench, Phillips and flat-head screwdrivers, penetrating oil like WD-40, replacement parts specific to your faucet type (such as O-rings or a new cartridge), plumber’s tape, and possibly a faucet repair kit.
Having everything on hand before you start will streamline the repair process and minimize the frustration of having to pause mid-repair to hunt for a missing tool or part. Preparing adequately ensures a smoother, more efficient repair experience.
Shutting Off the Water Supply
Safety first! Before attempting any repairs, turn off the water supply to your kitchen faucet. This is typically done via the shut-off valves located under the sink. Turn these valves clockwise to cut off the water supply. If you can’t find the valves, or if they are non-functional, you may need to shut off the main water supply to your house.
Once the water is off, open the faucet to drain any remaining water and release any built-up pressure, creating a safer and drier work environment for your repair project. Taking these precautions is essential to avoid accidents and ensure a successful outcome.
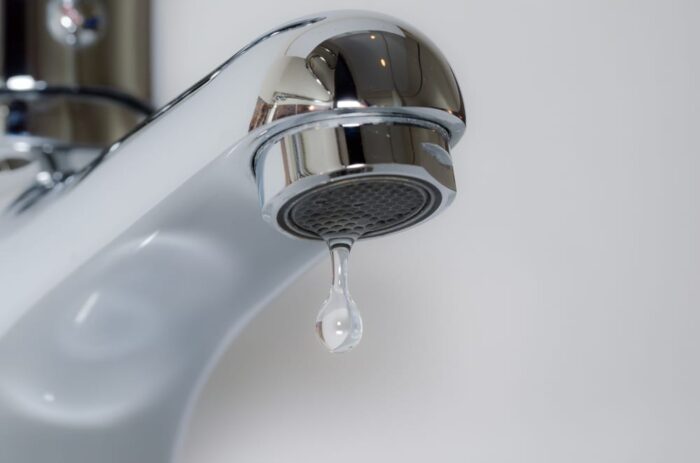
Dismantling the Faucet
Start by carefully dismantling your faucet. The process varies based on the type of faucet. For compression faucets, remove the handles by unscrewing them. For ball, cartridge, and ceramic disk faucets, the process may involve removing a decorative cap and unscrewing the handle screw.
Take care not to force any parts; use penetrating oil to loosen them if necessary. Keep a close eye on how each component comes apart; taking photos during disassembly can be a helpful reference for reassembly.
Identifying the Problem
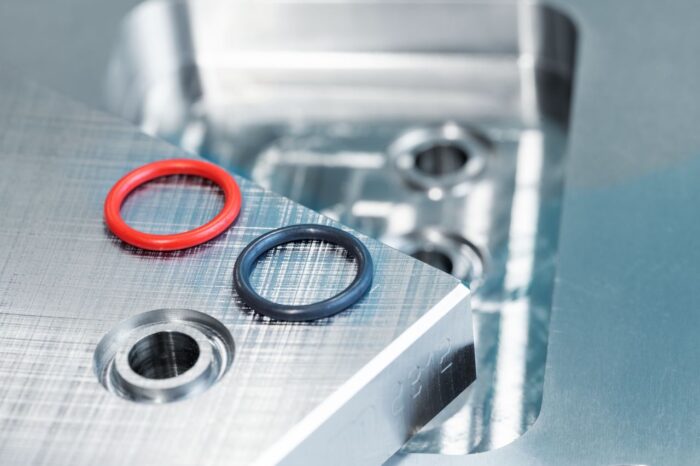
Once you’ve disassembled the faucet, inspect each part to identify the source of the leak. Common culprits include worn-out O-rings, corroded valve seats, or damaged washers. In ball-type faucets, the ball itself may need replacement.
For cartridge or ceramic disk faucets, the entire cartridge or disk may need replacing. This step is crucial for a successful repair as it ensures that you address the actual problem rather than just the symptoms.
Replacing Damaged Parts
After identifying the problematic parts, replace them with new ones. If you’re dealing with a worn-out washer or O-ring, make sure the replacement is the correct size and fit. For cartridge or ceramic disk faucets, you may need to purchase a specific replacement part that matches your faucet model.
Be gentle when installing new parts; forcing them can cause damage. Remember, the goal is to restore the faucet’s functionality without causing additional issues.
Reassembling the Faucet
With the new parts installed, it’s time to reassemble your faucet. Follow the disassembly process in reverse order. Ensure each component is securely in place, but avoid over-tightening, which can strip the threads or crack the parts. Use plumber’s tape on any threaded connections to ensure a watertight seal. Reassembling the faucet correctly is as important as the repair itself, as improper reassembly can lead to new leaks or damage.
Testing the Repair
After reassembly, it’s time to test your repair. Slowly turn the water supply back on and monitor the faucet for leaks. Let the water run for a minute to check for any dripping or leaking around the handles or base of the faucet. If you notice any leaks, turn off the water supply and recheck your work. Sometimes, a slight adjustment is all that’s needed to achieve a perfect seal.
Maintenance Tips
To prevent future leaks, regular maintenance is key. Clean your faucet regularly to prevent build-up that can wear out parts more quickly. If you have hard water, consider installing a water softener to reduce mineral build-up. Periodically check under your sink for leaks and tighten connections as needed. Taking care of your faucet can extend its lifespan and prevent the need for frequent repairs.
When to Call a Professional
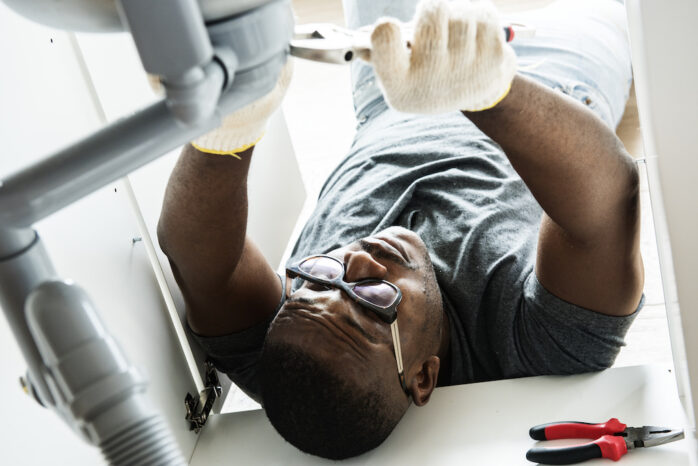
While many faucet leaks are fixable with DIY methods, sometimes the problem may be beyond a simple repair. If you’ve tried repairing your faucet and the leak persists, or if the damage is extensive, it might be time to call a professional plumber. Complex issues like major pipe damage or installation errors require expert skills and tools.
Conclusion
Fixing a leaky kitchen faucet is a rewarding DIY project that can save you money and prevent water waste. By following these steps, you can tackle most common faucet issues.
Remember, patience and attention to detail are your best tools in ensuring a successful repair. With your newly fixed faucet, you can enjoy a drip-free kitchen and the satisfaction of having done it yourself.


