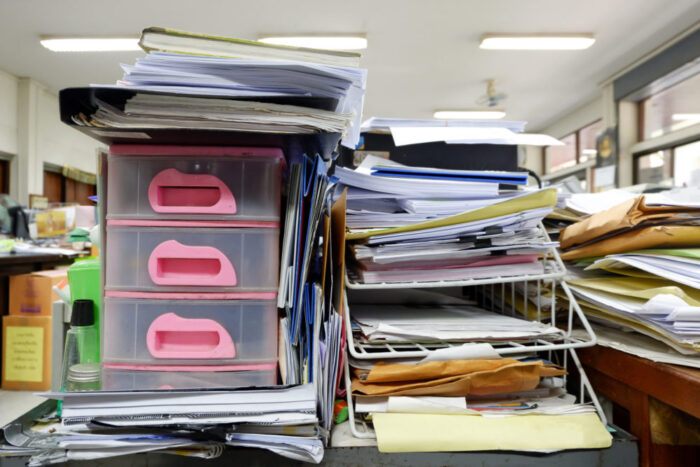
Preparing documents for scanning is a crucial step in digitizing your paperwork. A well-organized scanning process not only saves time but also ensures the quality of your digital documents. When docs are properly prepared, the scanning process becomes efficient, reducing the risk of errors and improving the readability of scanned files. This guide will walk you through essential tips to prepare your documents for a smooth scanning process, ensuring that your digital archives are as clear and usable as possible.
Gather Your Documents
Start by collecting all the documents you need to scan. This may seem obvious, but it’s easy to overlook a crucial paper in a large pile. Use trays or folders to organize your documents. This not only helps in keeping track of what needs to be scanned but also in maintaining the order of docs, especially if they are part of a sequence. Organizing your docs beforehand can significantly streamline the scanning process, making it more efficient and less time-consuming.

Remove Staples and Clips
Before scanning, it’s essential to remove any staples, paper clips, or binding materials from your documents. These metal objects can damage the scanner and cause paper jams, leading to delays and potential harm to both the documents and the scanner. Use a staple remover or a paperclip to carefully detach these items. This step is crucial for preserving the integrity of your docs and ensuring a smooth feed through the scanner, especially when using an automatic document feeder (ADF).
Arrange Documents Neatly
Arrange your documents in a uniform orientation – all facing the same way – to ensure consistency in your scanned files. Align the edges of your papers for a clean and orderly appearance in the digital copies. This not only makes the docs look more professional but also helps in avoiding skewed or crooked scans. A neat arrangement of docs facilitates easier handling and feeding into the scanner, reducing the likelihood of paper jams and misfeeds.
Remove Any Creases or Folds
Smooth, flat documents are essential for high-quality scans. Creases, folds, or wrinkles can cause shadows and blurs in the scanned image, making the text hard to read. Use a flat surface to gently press out any wrinkles or employ gentle pressure with your hands. This step is particularly important for older docs that may have been folded or creased over time. Ensuring your documents are as flat as possible will result in clearer, more legible scans.

Clean Documents
Clean documents are key to clear scans. Dust, smudges, or fingerprints can obscure text and images, leading to poor-quality scans. Gently wipe your docs with a soft, dry cloth to remove any dirt or marks. This is especially important for documents that have been stored for a long time or handled frequently. Clean docs not only improve scan quality but also help in maintaining the scanner’s cleanliness, ensuring its longevity and consistent performance.
Organize by Size and Type
Sorting documents by size and type can significantly expedite the scanning process. For instance, group all receipts, invoices, and contracts separately. This organization aids in adjusting scanner settings specific to each type and ensures that docs are fed correctly into the scanner. It also helps in post-scanning organization, as you’ll know which digital files correspond to which physical docs. This step is a time-saver and adds to the efficiency of the scanning process.
Use Document Separators
Document separators are useful tools in scanning. They mark the beginning and end of each document, especially when scanning multiple pages as a single file. This is particularly helpful when using an ADF, as it allows the scanner to recognize individual documents within a batch. Separators can be as simple as blank sheets of paper or specialized barcode sheets, depending on the scanner’s capabilities and your organizational system.

Adjust Scanner Settings
Before starting the scanning process, check and adjust your scanner’s settings. This includes resolution, color mode, and file format. The right settings depend on the type of document you’re scanning. For text documents, a lower resolution might suffice, while high-resolution scans are better for detailed images. Adjusting the color settings is also important – black and white for most text docs and color for images or documents with colored text. Proper settings ensure the best possible quality for your scanned docs.
Test Scan and Review
Perform a test scan with a few documents to check for any issues. This step allows you to adjust settings or correct any problems before scanning the entire batch. After the test scan, review the scanned image for quality and accuracy. Check for clarity, alignment, and any missed pages. This review process is crucial to ensure that your scanned docs meet your quality standards and are true to the original.
Name and Save Files
Naming and saving your scanned files properly is crucial for easy retrieval and organization. Use meaningful names that describe the content or context of the document. Establish a consistent naming convention, like including the date or type of document in the file name. Also, decide on a specific destination folder for your scanned documents. This organization makes it easier to locate and reference your digital files in the future.

Backup and Store Digitally
Backing up your scanned documents is essential for data security and preservation. Store digital copies securely on your computer, external hard drive, or cloud document storage. This ensures that you have access to your docs in case of physical damage or loss of the original papers. Regular backups and secure digital storage safeguard your important documents and provide peace of mind.
Conclusion
Preparing documents for scanning is a straightforward yet vital process. By following these tips, you can ensure a smooth and efficient scanning process, resulting in high-quality digital copies of your important docs. Proper preparation saves time, preserves the integrity of your docs, and enhances the overall quality of your digital archive. Remember, a little effort in preparation goes a long way in maintaining an effective digital document management system.


