We all know the critical role wires and cables play in our lives for establishing communication and electrical connections. Some are visible to us, while others are not visible because they are connected underground. Different types of wires have different diameters available in the market nowadays and are used to solve various purposes.
Some of you might be curious to learn about the process used to make these cables. And we are here to break this for you. This process is quite complex and lengthy, but it works well when handled with proper attention and care. To make the wires last long and provide reliable services, the workers have to ensure that every step is going smoothly and as per the instructions.
In this article, we will explain the manufacturing process of wires and cables in detail step by step. But before we get into that, we should know the difference between the two of them. Once we know exactly what both of them are, we will study their manufacturing process. If you want to get some more insights into it, consider checking out zwcables.com.
Difference Between Cable and Wire
Most people think that both terms have a similar meaning but let us tell you that they are different. No doubt that both of them are used for making electricity and communication connections. However, they are pretty dissimilar. Let us get into the primary difference between them.
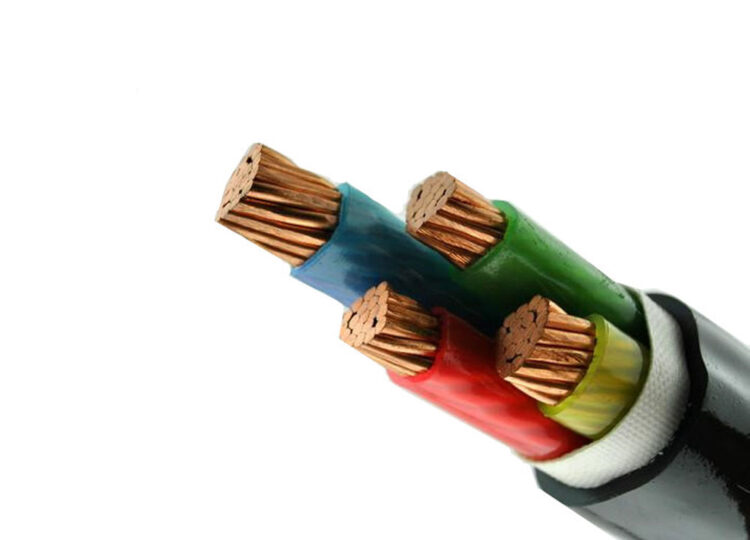
The fundamental difference between wires is that wires consist of only one conductor, whereas if we talk about cables, they are made from a group or bunch of conductors. However, the conductors used in both are made up of the same materials, i.e. aluminium or copper.
Generally, the wires are bare, but some are even coated PVC as well. On the other hand, cables are made from several wires bonded or twisted together to form one case.
Manufacturing Process
Now that you have a basic understanding of the two terms let us learn about their manufacturing process step by step. If you are looking forward to starting a venture in this field, you must know its production procedure.
1. Wire drawing:
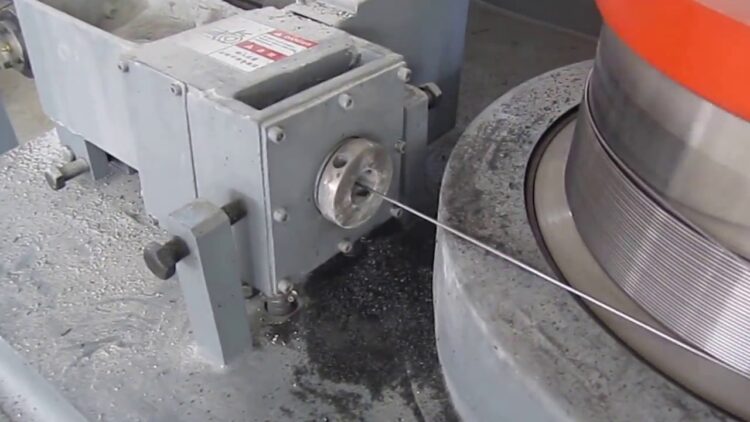
The first step involves drawing single wires that are usually made up of aluminium or copper. These are then fitted in AWG and are then pulled out through artificial diamond dies. This process is done to achieve three basic properties. These properties are:
● Decrease in cross-sectional area
● Increase in length
● Improvement in strength
Once this step gets finished, it is essential to provide lubrication and cooling to the dies. Otherwise, they will deteriorate with time and will no longer serve the purpose of drawing wires. When they are cooled and lubricated well their life span increases.
2. Annealing:
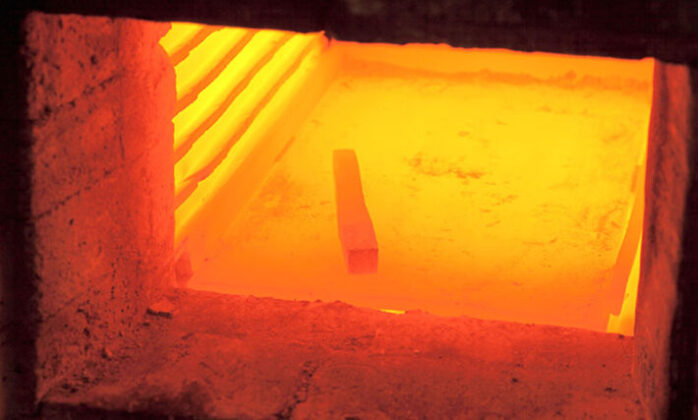
Annealing refers to the process in which materials are heated at high temperatures to bring changes in their chemical and physical properties. It is used to decrease the toughness of the substance and make it softer, so it can become easy to work with.
Once you are done with the drawing process, it’s time for step 2, i.e. annealing. Under this step, huge pressure is applied to the metals to convert them into thin wires. The wires that are produced are brittle and can be fractured easily.
This step is achieved by heating the wires at a very high temperature for some period. However, you must keep in mind to make sure that there is no oxidation of wires taking place.
3. Stranding and twisting:
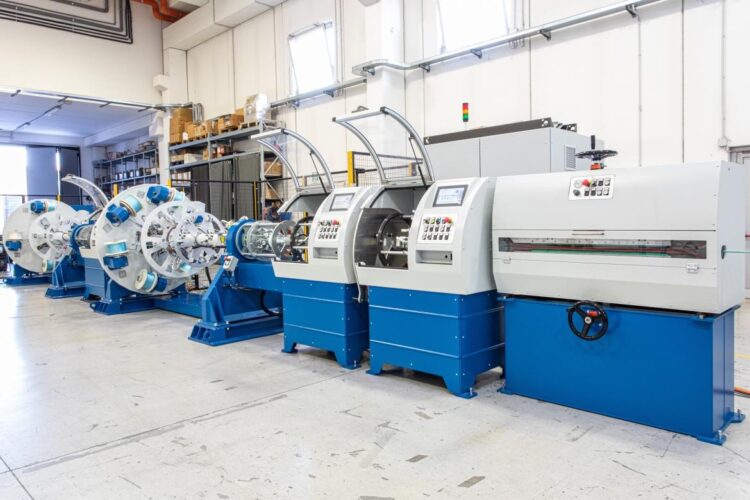
Stranding and twisting multiple wires is extremely important because when several wires with the same diameter or cross-sectional area are twisted together, it becomes much more robust and flexible. Therefore, you can even say that this step is typically used to enhance their performance.
4. Hot extrusion:
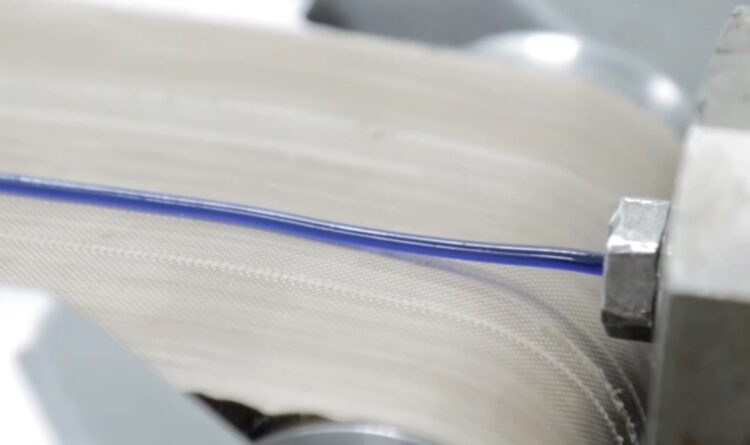
Twisting and stranding are followed by the hot extrusion process, in which they are covered with the help of an insulating substance. The material used for the insulation depends upon the requirement or for what purpose the wires will be used.
A material that has got high thermal resistance defines the quality of the insulating material. In simpler words, it means a material with high thermal resistance will transmit a large amount of electrical current in it.
5. Cabling:
Source: breezpost.coThe above steps ensure that you have prepared the primary component of the cable. Therefore, the next step is to arrange the different cables depending upon their utilities. This procedure is primarily performed in the cabling station.
For establishing electrical links in our day to day lives, we need to wrap up at least one strand of wires, along with an obstruction forestalling layer if necessary, into the security coat. To have a superior framing degree, we regularly use filler to guarantee the finished product is round.
6. Phase wiring:
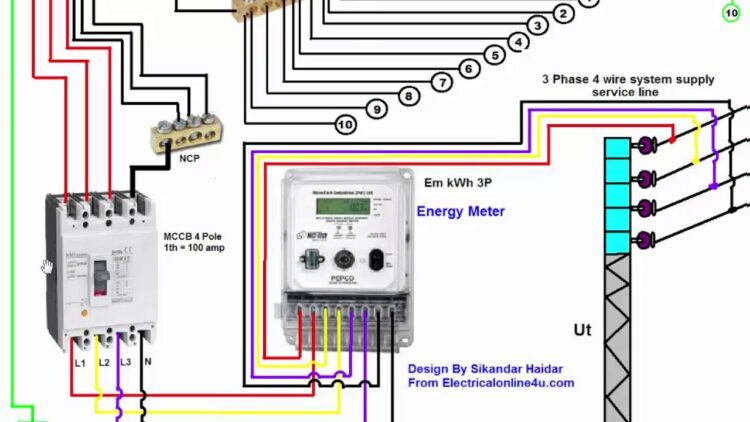
This is a different stage on account of multi-centre wires producing, where a few conduits are consolidated. What’s more, the various stages are set apart with various shadings, numbers, or some other kind of stamping to recognize them from each other.
This step is beneficial in keeping wires conveniently coordinated in lesser space and ensures against a wide range of vibration, scraped area, and dampness.
7. Adding extra protection:
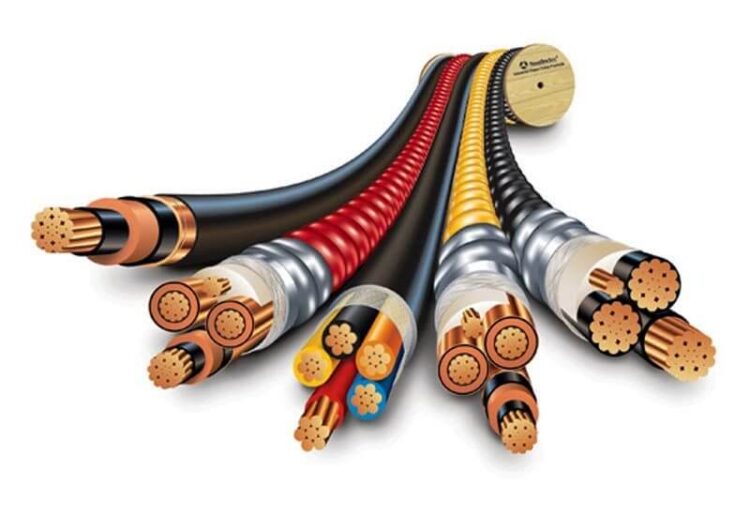
If you are looking to improve the features or characteristics of the cable, then adding a few extra layers is recommended. It is mainly used for cables that have to go through electrical pressure and work under bad atmospheric conditions. Most commonly, aluminium and steel is used for this purpose and is applied around the wire in strips or braid form.
To Sum Up
Learning about the manufacturing process of cables is necessary for people looking forward to starting any business related to electrical appliances. The process is quite challenging and complicated.
Therefore, make sure that the workers are well known about it and pay attention and care while producing these cables. Don’t forget to add extra layers of protection, such as using ladder trays from Seasafe.com, if they are to be used in some harsh climatic conditions.


