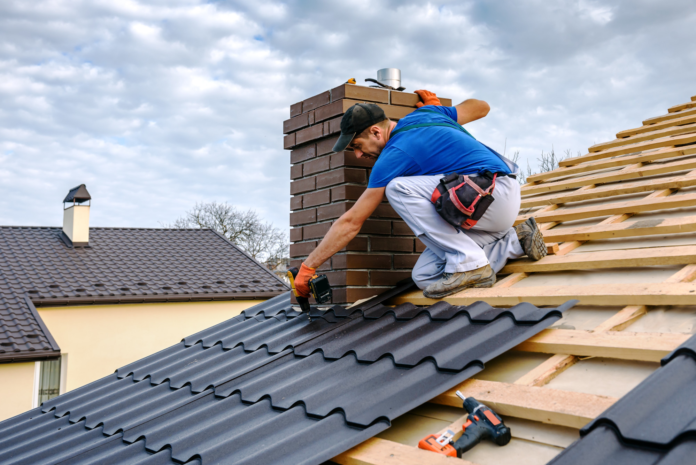
If you are thinking about roofing your home you surely feel overwhelmed. After all, not only is it a complex process, but it can also be an expensive one. In addition, it will also affect the aesthetic appearance of your property and a possible future sale.
If you are willing to put in some effort and take enough time, you can do this job on your own. In this article, we are going to guide you through all the steps that you have to take in order to complete this task successfully.
Investigate building codes
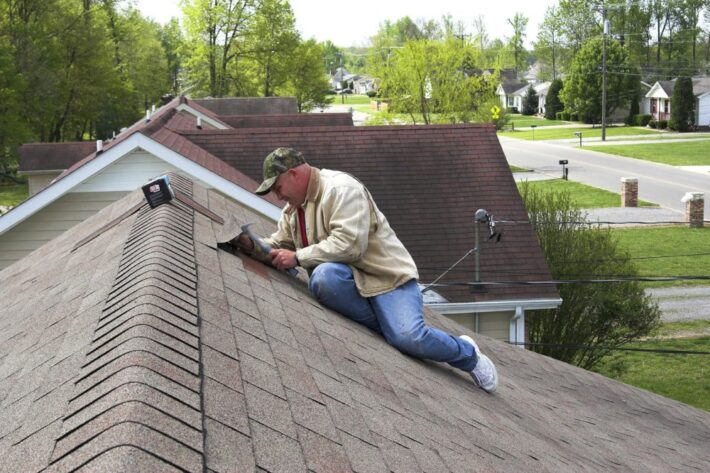
This is something that varies between communities. Some might require you to use specific materials or an exact number of shingles. This is usually regulated by the law to ensure the aesthetics of the neighborhood and to prevent any type of accidents that can occur due to harsh weather conditions or unsecured installation.
According to MajorLeagueConstructionINC.com, if you skip this initial step, you might have to pay expensive penalties or you might even be forced to take the roof down and start from scratch. Essentially, this means that you would be throwing money down the drain, and this is the last thing that you need since the whole process can be quite costly.
Find the right material

When it comes to choosing material, you have a few options. Firstly, you can go with felt that can easily be installed with nails and staples. This type is quite effective. It will protect you from harsh rain, snow, and ice, and its lifespan can be over 20 years.
Secondly, you can opt for tar and gravel i.e. you mix them together to get flattened stone. This one was used in the past very frequently. Although it is very heavy, it is extremely durable and it will last for over 40 years.
If you are looking for a material that can provide you with great insulation and block the UV light, you should consider getting Ethylene Propylene Diene Monomer (EDMP). It is a material that is usually recommended by contractors and its lifespan can exceed 30 years.
Similarly, you can go with Thermoplastic polyolefin (TPO) that is fire resistant, but this material is more expensive than the EDMP.
Next, you can choose PVC that is used in many different ways when it comes to construction, and one of them is roofing. It is also material that is most frequently used due to its durability and lifespan of 30 years, but you have to keep in mind that it is pricey.
If you are looking for something that can be easily installed and that is extremely durable at the same time, you should consider metal, aluminum, or steel to be exact. Any kind of damage to the metal roof can easily be repaired.
Finally, you can go with asphalt. However, keep in mind that it is very heavy which means that it requires support joists, but this roof will last you for 50 years.
As you can see, each one of these materials comes with specific pros and cons, so you have to weigh them carefully in order to go with the right one for your home. Besides the cost and durability, don’t forget that the difficulty of installation varies between these, so if you are a complete beginner and you want to do this on your own, you should go with metal or felt.
Eliminate the old roof
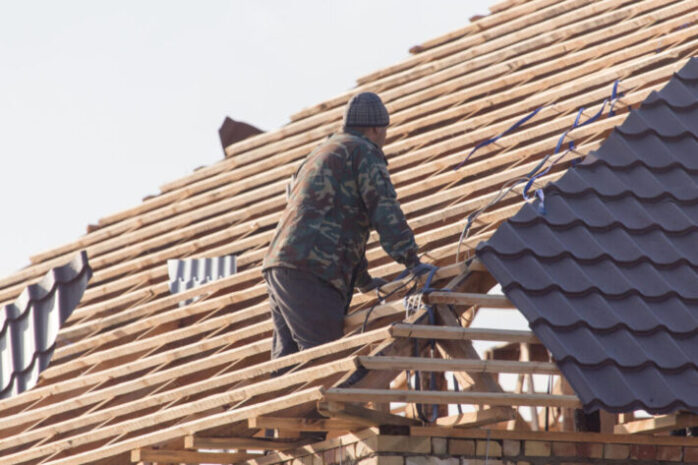
Now that you have organized everything, it is time to get to work. Obviously, if you are re-roofing your home, firstly you have to get rid of the old one. This can turn out to be a hard task, especially if the fasteners and screws are rusted. If this is the case, you might as well just buy new fasteners and leytonfasteners.co.uk is the place to go, as they supply them all across the UK. On the other note, if you are building a new house, this is a step that you can skip.
Add drip molding and valley flashing
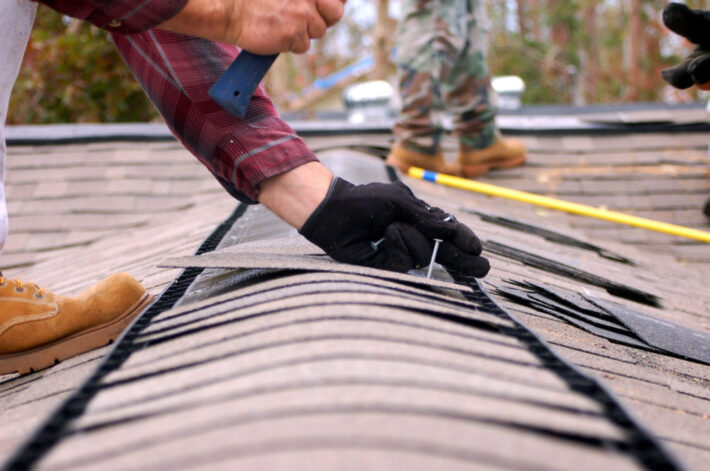
As you surely know, you need to ensure that these two tasks are completed perfectly because if they are not, the roof won’t be resistant to the rain, regardless of the quality of material you have chosen. Firstly, you have to nail down the drip molds that will lead the water to the gutters. Once you have completed this, you have to apply the valley flashing
Make the location of the nails
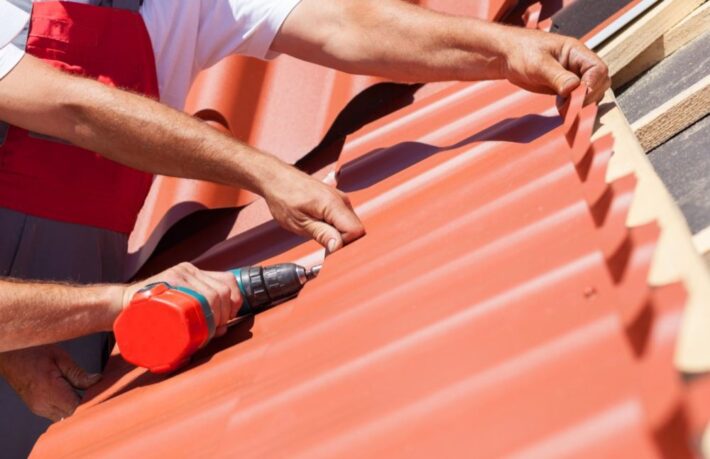
If you have opted for felt, PVC, EPDM, or TPO, you have to use nails to ensure that everything stays in its place. This is the same thing we have already mentioned when it comes to installing drip molds and valley flashing. Our advice is to use chalk to mark all the spots where nails will go. Another thing – when you begin installing the roof seams, you should allow them to overlap a little bit. This way you will be certain that they will provide you with insulation and protection, read more here.
Seal up the nails
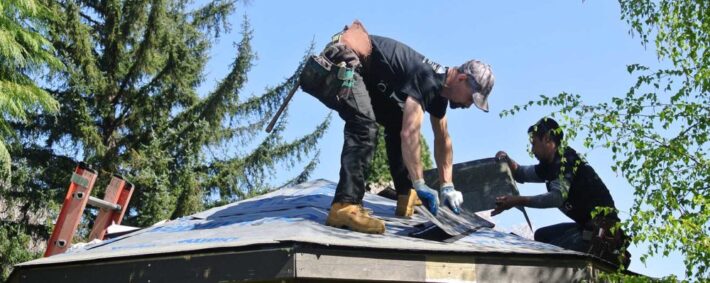
There is another thing that you must do before concluding the work. It is of crucial importance that you add adhesive over the nails. There are two reasons why you have to do this. First of all, it will create a cap around the exposed nails thus prevent the water from damaging them. Also, sometimes, harsh weather conditions can damage them and this is the only thing that you can do to ensure that that doesn’t happen.
Inspect the roof
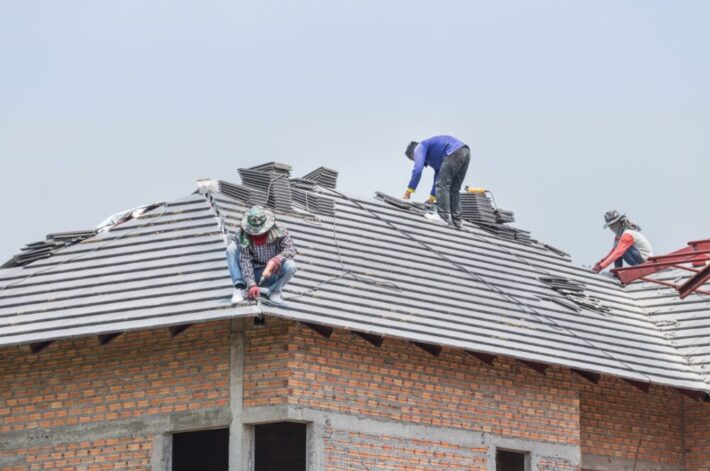
This is the final step that you should take. Nevertheless, make sure that the adhesive has had enough time to completely set. Make sure to thoroughly go over every inch of the roof. Check if you have missed anything or if something needs to be re-done or fixed. Upon completing this final task, it is time to enjoy your new roof.


