Flutter, Google’s open-source UI software development kit, has become a popular choice for developing cross-platform mobile applications. Its versatility, speed, and the ability to maintain a single codebase for both Android and iOS make it an attractive option. However, like any software development project, testing and debugging are integral to the process of creating robust and reliable Flutter apps. In this comprehensive guide, we’ll explore the art of testing and debugging in Flutter app development, and how to master these essential aspects of the development process.
The Importance of Testing and Debugging
Testing and debugging are crucial stages in the app development lifecycle. They ensure that your app is not only functional but also free from defects and errors. Proper testing and debugging help enhance the user experience, maintain the app’s performance, and prevent issues from occurring once the app is in the hands of users.
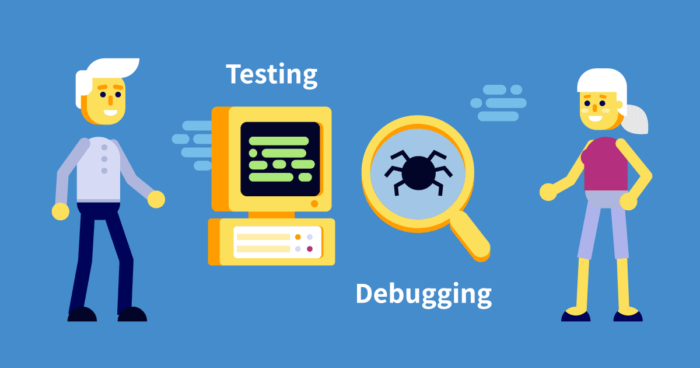
The Benefits of Testing:
- Identifying Bugs: Testing helps identify bugs, glitches, and other issues that may arise during app usage.
- Ensuring Functionality: It verifies that the app’s features and functions work as intended.
- User Satisfaction: Thorough testing leads to a better user experience, reducing user frustration.
- Security: Testing can reveal potential security vulnerabilities, preventing data breaches and other security issues.
- Cost-Efficiency: Early bug detection and resolution can save time and resources compared to fixing issues post-launch.
The Benefits of Debugging:
- Bug Resolution: Debugging is the process of finding and fixing issues discovered during testing.
- Code Optimization: It allows for code optimization and improvement in app performance.
- Enhanced Quality: Debugging contributes to the overall quality and reliability of the app.
- User Trust: Resolving bugs quickly builds user trust in the app.
- Maintaining Reputation: A well-debugged app maintains the developer’s and the company’s reputation.
Testing in Flutter
Flutter offers several types of testing to ensure app reliability, including:
- Unit Testing: This type of testing evaluates the individual units or components of your app to verify that they work correctly in isolation.
- Widget Testing: Widget testing focuses on testing individual widgets and their interactions within the app.
- Integration Testing: Integration testing evaluates how different parts of the app work together as a whole, testing user interfaces, functionalities, and communication between various components.
- End-to-End (E2E) Testing: E2E testing examines the entire app’s workflow, simulating real user interactions to ensure that the app behaves as expected.
- UI Testing: UI testing concentrates on the app’s user interface, checking that the visual components, layouts, and interactions work correctly.
Mastering the Art of Testing in Flutter
Mastering testing in Flutter involves a combination of the right tools, best practices, and a systematic approach. Here are the steps to take:

1. Choose the Right Testing Frameworks:
Flutter provides tools like flutter_test for unit testing, and frameworks like flutter_driver and integration_test for widget, integration, and E2E testing. Choose the most appropriate framework for your specific testing needs.
2. Write Testable Code:
To make your code testable, it’s essential to follow good coding practices. Write modular and organized code, separate business logic from presentation logic, and avoid tightly coupled components.
3. Implement Unit Testing:
Begin with unit testing to ensure that individual parts of your app, like functions and methods, work as expected. Create test cases that cover various scenarios, including edge cases and common user interactions.
4. Conduct Widget and Integration Testing:
Widget and integration testing help ensure that your app’s UI and components work well together. Simulate user interactions and verify that widgets display correctly and respond appropriately.
5. Perform E2E and UI Testing:
End-to-End and UI testing focus on the overall user experience and the visual aspects of your app. These tests verify that your app behaves as expected, including navigation, screen transitions, and visual components.
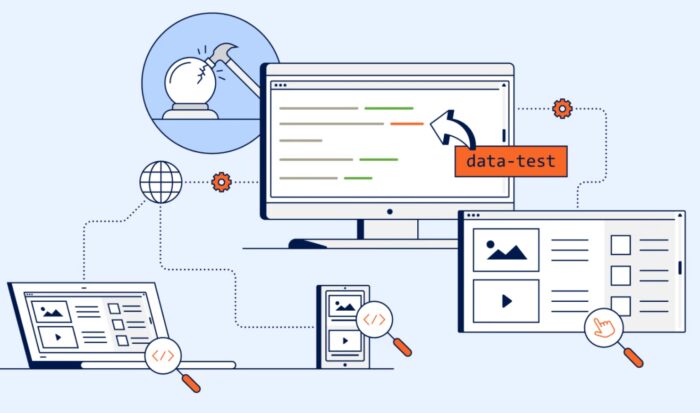
6. Automated Testing:
Implement automated testing processes that can be run regularly, especially during the development and build process. Automated testing saves time and helps maintain consistent testing standards.
7. Continuous Integration (CI) and Continuous Deployment (CD):
Integrate testing into your CI/CD pipeline to automatically run tests when code changes are pushed. This ensures that new code doesn’t introduce new bugs.
8. Use Mocking and Stubs:
Incorporate mocking and stubbing techniques to isolate the component you’re testing from external dependencies. This allows you to control and verify the behavior of specific components during testing.
9. Debugging During Testing:
Debugging is an essential part of the testing process. Use Flutter’s built-in debugging tools and extensions like Flutter DevTools to identify and resolve issues as they arise.
10. Document and Maintain Tests:
Keep your tests well-documented and up-to-date. As your app evolves, make sure to adjust and expand your test suite to cover new features and functionalities.

Mastering the Art of Debugging in Flutter
Debugging is the process of finding and fixing issues or bugs that occur during testing or app usage. In Flutter App Development Services, you can use a combination of tools and techniques to master the art of debugging:
Integrated Development Environment (IDE):
Use a Flutter-friendly IDE like Visual Studio Code or Android Studio for debugging. These IDEs offer powerful debugging features, including breakpoints, watches, and variable inspection.
Debugging Tools:
Flutter DevTools is a web-based suite of debugging tools that offers insights into the app’s behavior. It allows you to inspect the widget tree, analyze app performance, and view logs.
Logging:
Implement logging within your app to capture and record information about its behavior. Tools like the logging package in Dart can help you log and view messages for debugging purposes.
Debugging Statements:
Strategically place print statements or breakpoints in your code to trace the flow and values of variables. This can help identify where issues occur.
Widget Inspector:
Use the Flutter Widget Inspector, a part of Flutter DevTools, to visualize the widget tree and understand the hierarchy and properties of widgets. This can assist in locating UI-related issues.
Hot Reload and Hot Restart:
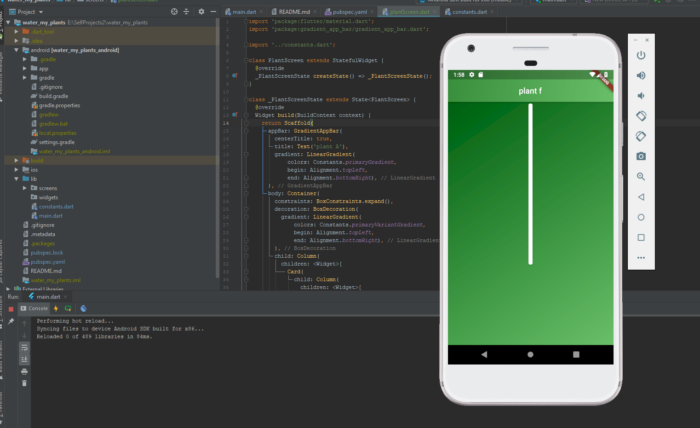
Leverage Flutter’s “hot reload” and “hot restart” features to quickly apply code changes and see their immediate impact on the app. This makes the debugging process more efficient.
Isolate Issues:
When encountering a bug, try to isolate it to a specific part of your code. Determine if it’s related to the UI, logic, or external dependencies, and focus your debugging efforts accordingly.
Stack Traces:
Examine stack traces and error messages to identify the root cause of issues. They often provide valuable information about where and why problems occurred.
Tackle One Issue at a Time:
Avoid trying to resolve multiple issues simultaneously. Concentrate on one problem at a time to maintain focus and effectiveness.
Regression Testing:
After fixing a bug, perform regression testing to ensure that the issue is resolved without introducing new problems.
Code Reviews:
Collaborate with team members and engage in code reviews to gain insights and identify potential issues early in the development process.
Conclusion
Mastering testing and debugging in Flutter app development is essential for delivering high-quality, reliable apps to users. By following best practices, using the right testing frameworks and tools, and adopting a systematic approach to testing and debugging, you can ensure that your Flutter apps meet user expectations, perform optimally, and remain bug-free. The art of testing and debugging is an ongoing process that evolves as your app grows and changes, making it a fundamental skill for every Top App Development Company in Australia.


